Ingredients:
1 8 oz can almond paste (NOT marzipan or almond pie filling)
1 cup sugar
3 sticks of butter
4 eggs
1 tsp almond extract
2 cups flour
1/4 tsp salt
red food coloring (I use the paste but you can use the liquid 8-16 drops)
green food coloring (I use the paste but you can use the liquid 10-20 drops)
1 12 oz jar seedless raspberry jam or apricot preserves
6 oz. semisweet or dark chocolate
Tools:
Food processor (optional but highly recommended)
3 9x12x2 inch pan (I use disposable ones, because you want the 2 inch high ones)
Non-stick spray for baking (It contains flour)
2 small bowls
small sauce pot
small strainer (the kind you use for confectioners sugar - this is to strain the jam)
2 large cutting boards (to sandwich the cookies in)
heavy cans (to weigh down the cookies)
Here's how:
Preheat the oven to 350 F.
Spray the pans with non stick spray with flour for baking.
Place the almond paste and sugar in the food processor and process until the paste in completely broken down and it is incorporated into the sugar. You can simply place the sugar and paste into the mixer but I find that they do not incorporate well and you will get almond paste lumps in the cookies.
 |
| Almond paste and sugar ready to get mixed |
 |
| All incorporated and ready to continue |
 |
| Butter added |
Add the eggs and extract. Mix until light and fluffy.
 |
| Eggs and extract in, salt and flour are next |
Beat in flour and salt. Mix in.
 |
| Everything is in. Ready for baking and colors. |
Remove 1 1/2 cups of batter and spread evenly into one of the prepared pans. It will be a thin layer.

Take the remaining batter and place 1 1/2 cups of each into a small bowl. Put the red food coloring into one bowl and the green into the other. Use enough coloring to get a bright color of each. Stir each until completely colored and mixed well.
Spread the red into one of the prepared pans. Do the same with the green.
 |
| Ready added and ready for the oven |
 |
| Green added and in the pan. |
Bake the cakes for 15 minutes. The edges should be golden brown but not burned.
Cool in the pans.
While the cakes are cooking, our the jam or preserves into the small pan. Heat completely then strain.
Place the green cake on the cutting board. Pour half of the strained jam on and spread it evenly, all the way to the edges.

Place the yellow layer on top then spread the remaining strained jam as above.
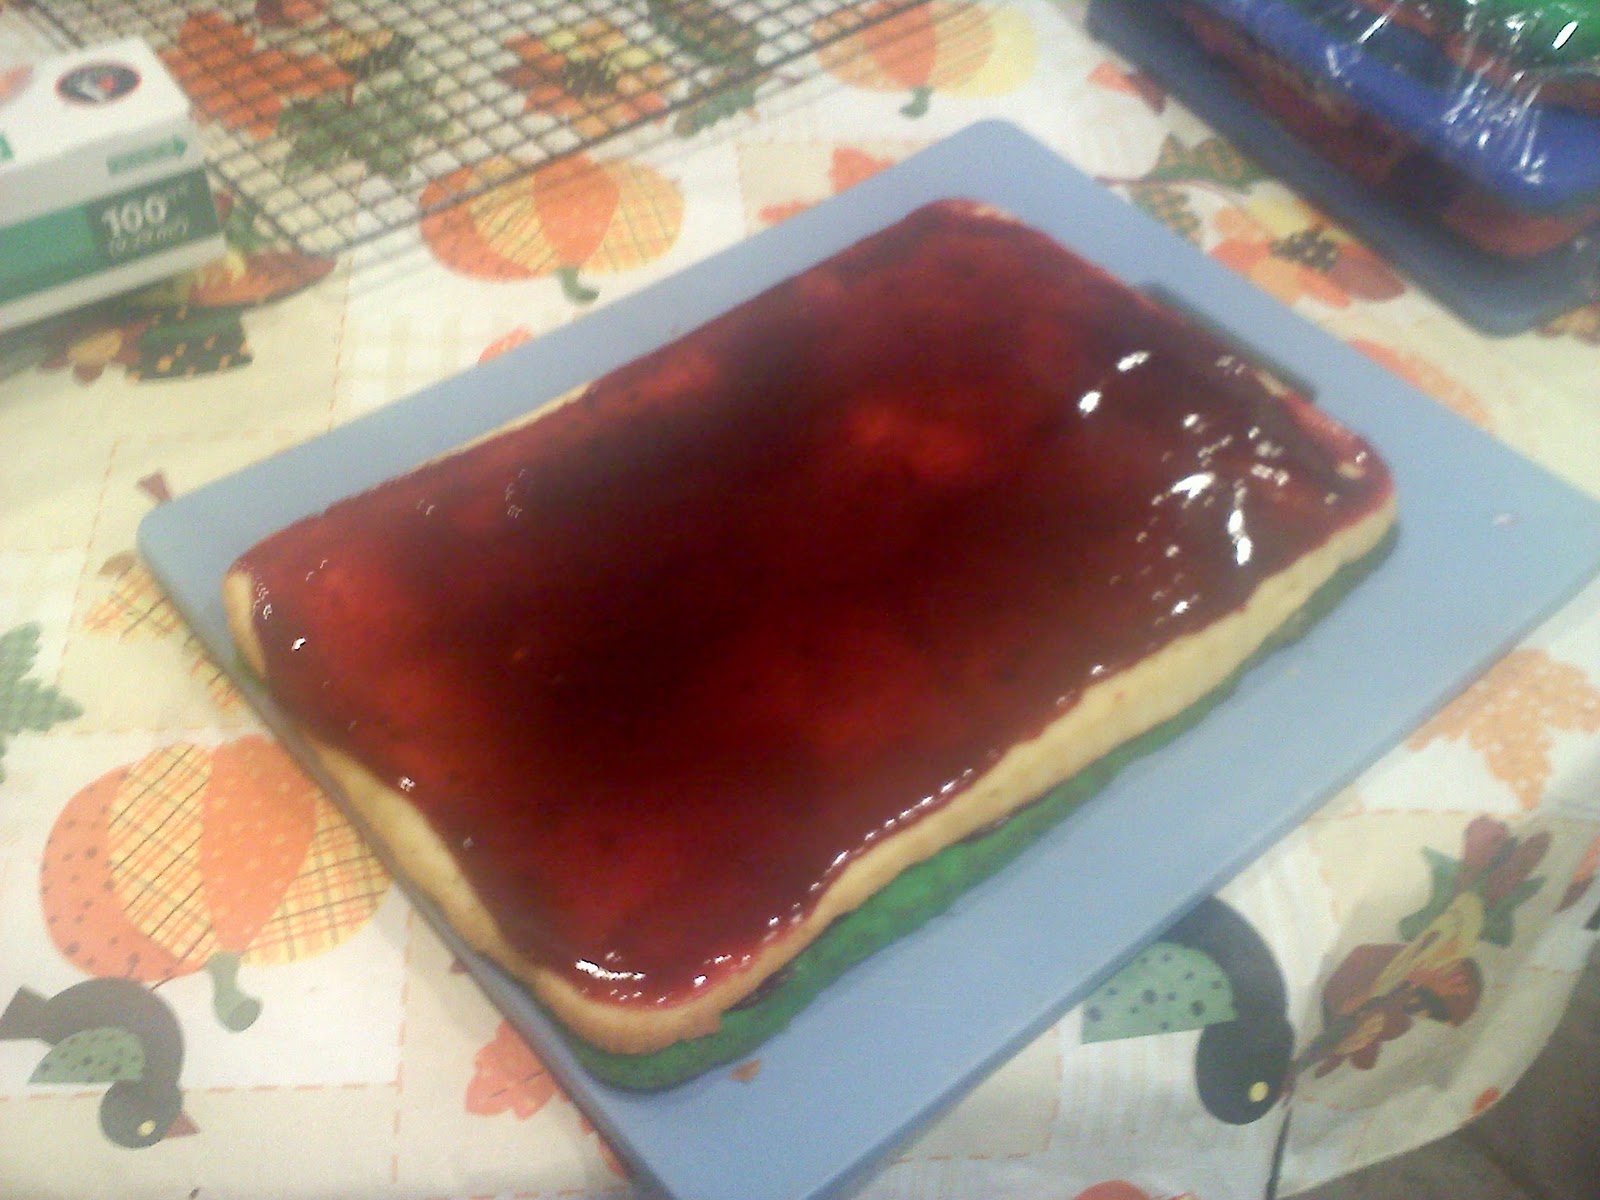
Place the red layer on top.

 |
| Side view of the cakes. They will be evened out later |
Cover it all with plastic wrap. Place another cutting board on top with some heavy cans. Make sure the weight is even.
Place this in the fridge overnight.
Melt the chocolate. I do this in the microwave. Place the chocolate in a small bowl for 30 seconds at a time, mixing in between each time until melted. You can also use a double boiler.
Spread the chocolate over the top of the cookies, all the way to the edges. You can score the chocolate with your knife to make cutting easier later. This is optional, but works. Let the chocolate cool 30 minutes.
Trim the edges of the cakes. Cut into cookies. Makes 8 dozen, but you can cut them the size you prefer.


No comments:
Post a Comment